Smoke Sensor Repair Services Overview
Visitors will learn about local contractors who provide smoke sensor repair services and how to compare options in their area.
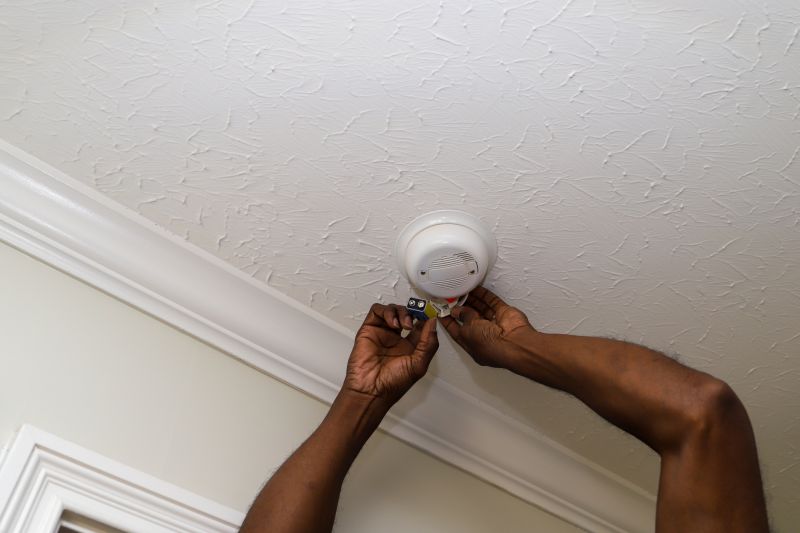
- - Smoke sensor repair services for residential homes, ensuring proper functionality in family living spaces.
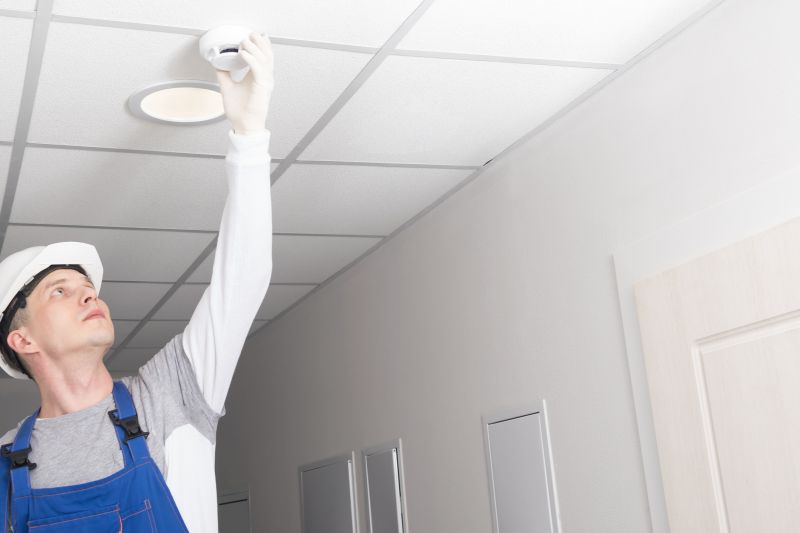
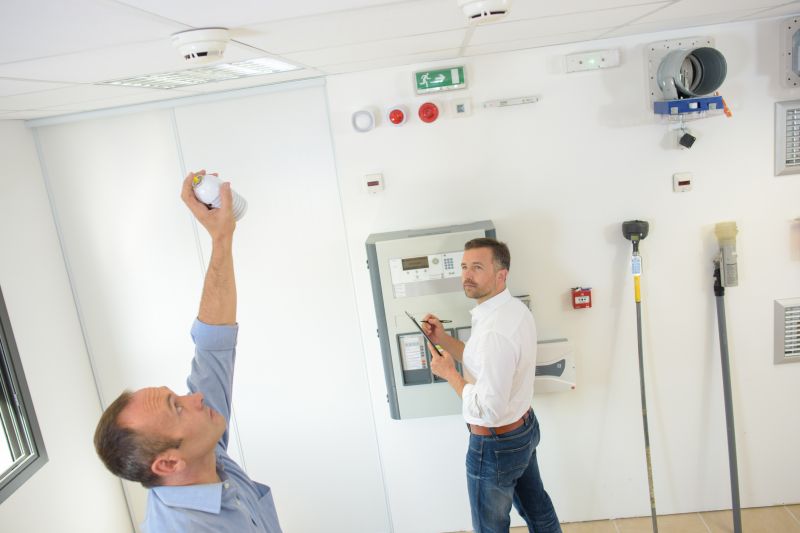
- - Commercial property owners seeking reliable smoke sensor maintenance and repair solutions.
- - Property managers and landlords needing local contractors to keep fire detection systems operational.
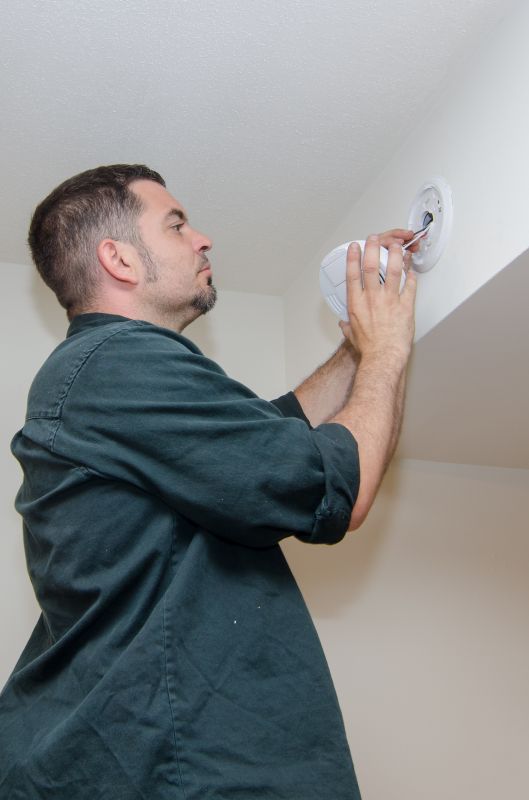
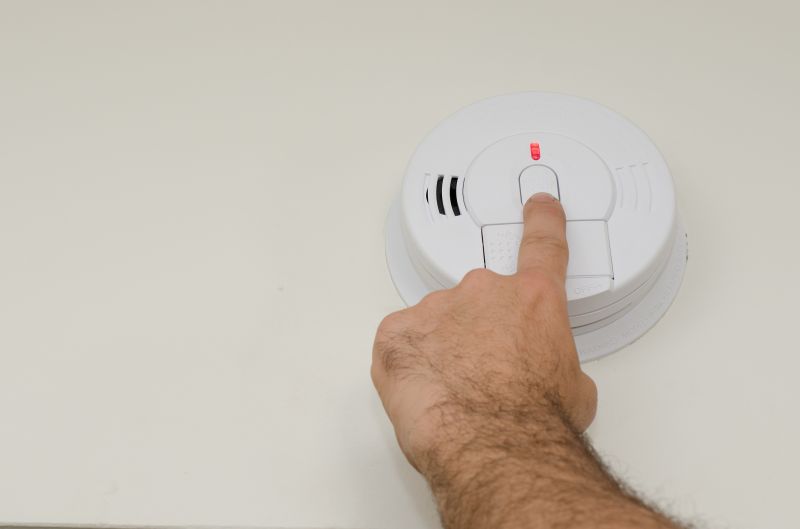
Smoke sensor repair services are essential for maintaining effective fire detection systems within homes and businesses. When smoke sensors malfunction, become unresponsive, or fail to activate during testing, property owners often seek assistance from experienced local contractors who specialize in diagnosing and fixing these devices. These service providers handle a variety of issues, including sensor calibration, wiring problems, and replacing faulty components, helping ensure that smoke detection systems operate reliably and meet safety standards.
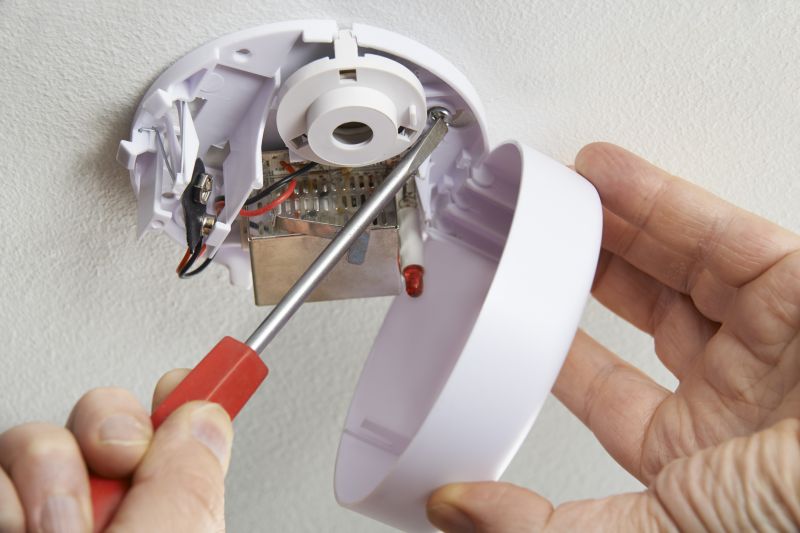
Connecting with local pros for smoke sensor repair offers property owners the opportunity to compare expertise and service options in their area. These professionals typically assess the condition of existing sensors, identify underlying issues, and perform necessary repairs or replacements. By working with experienced local contractors, property owners can address smoke sensor problems efficiently and help maintain a safe environment, whether for residential, commercial, or industrial properties.
This guide provides helpful information to compare and connect with nearby service providers who specialize in smoke sensor repair. It aims to assist in understanding the typical services offered and what to consider when choosing a local contractor. By exploring this resource, visitors can better prepare to discuss their needs with qualified professionals in their area.